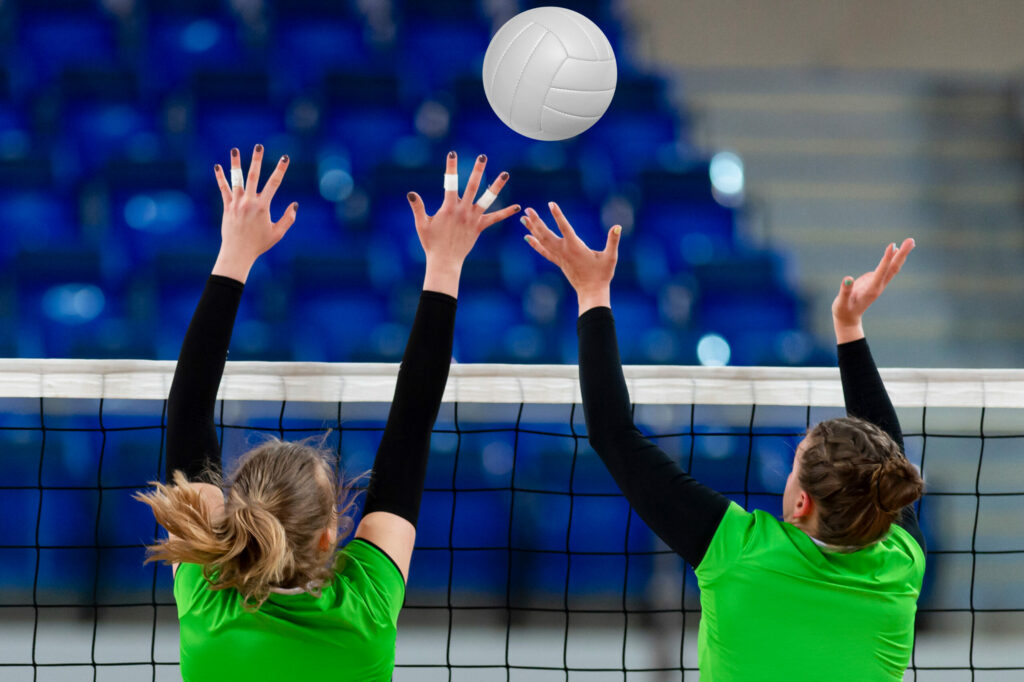
A proper net setup is crucial for getting the highest performance from your athletes, while ensuring a safe and efficient playing environment. This article provides a comprehensive guide to setting up a volleyball net system for practice and competitive play. We’ll discuss the best volleyball equipment and address essential questions to help you achieve the perfect net setup.
Choosing the Best Volleyball Net Systems
The first step in setting up a volleyball net is to choose the right volleyball net system. When looking for the best net systems for middle schools, high schools, or clubs, it is important to consider quality, durability, and ease of use.
At Sterling Volleyball, we recognized the need for volleyball net systems that were high-quality, cost-effective, safe, and accessible for players of all ages and skill levels. Our patent-pending aluminum design for volleyball poles is as strong as poles made from carbon steel at half the price and a fraction of the weight, offering a pole that is safe and easy to carry and assemble for younger athletes and coaches.
Step-by-Step Guide to Setting Up a Volleyball Net
-
- Step 1: Assemble the volleyball poles.
Find the floor plates in your gymnasium and open them up. Depending on your gym, you may need a flat head screwdriver or an Allen wrench. Sterling Volleyball net systems come with floor plates and sleeves that will not rust and feature quick and easy access without the need for special tools. Insert the poles upright into the sleeves so that they sit firmly in place.
-
- Step 2: Adjust the height of the volleyball poles.
Look for the markings on the pole that indicate the height that matches the age and gender of your athletes and adjust accordingly.
-
- Step 3: Attach and tighten the volleyball net to the poles using the manufacturer’s instructions.
Once the net is attached, make sure it is tight and aligned properly to the poles. Sterling Volleyball net systems feature a net that is fully assembled and designed for maximum strength and performance, and also include a ratchet with a detachable crank handle that makes tight nets a breeze. If you need more help with attaching the net, check out our step-by-step guide on how to do this.
-
- Step 4: Attach the volleyball antennae to define the playable area for the volleyball.
-
- Step 5: Attach the volleyball pole pads to the poles.
Pole pads are an important part of your net system as they provide a necessary layer of safety to the game. Sterling Volleyball offers pole pads that are designed for easy setup and tear-down and can be customized based on your school’s colors and mascot!
Congratulations! Your net is ready for action.
Investing in the Best Volleyball Training Equipment
Proper net setup and quality equipment are essential for getting from your volleyball net system. By following this guide and investing in the best volleyball equipment, you can create an optimal playing environment for your student athletes.
High-quality volleyball practice equipment is essential for competitive teams. Sterling Volleyball offers the best volleyball training equipment at affordable prices, ensuring your athletes have access to top-tier gear. Explore Sterling Volleyball’s offerings to find the perfect gear for your team’s needs today!


